Calculated Fields
The Web Dashboard control provides the capability to create calculated fields that allow you to apply complex expressions to data fields obtained from the dashboard's data source. As a result, you can use these fields in data visualizations as regular data source fields.
Note that calculated fields are not supported for the OLAP data source.
You can add a new calculated field based on the existing data source fields after you have created a data source.
Creating a Calculated Field
You can creates calculated fields both in the Data Sources page and from the Binding panel.
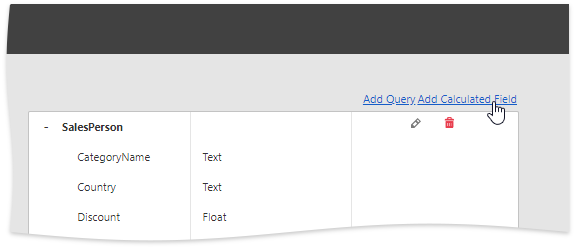
Go to the dashboard menu and open the Data Sources page. Select a required data source (and the required query/data member, if applicable) and click the Add Calculated Field button to create a calculated field.
Open the Binding panel, go to the Binding section and click the Add calculated field button (the
 icon).
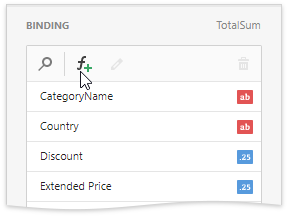
This invokes the Edit Calculated Field dialog, which allows you to construct the required expression.
- Use the Name option to change the default field name.
- Use the Field Type option to specify the required calculated field type.

The following elements are available for creating expressions:
| Element | Description |
|---|---|
| Fields | Contains available fields and dashboard parameters. |
| Constants | Contains boolean variables. |
| Functions | Contains different types of functions including aggregate. |
| Operators | Allows you to select operators from the list. |
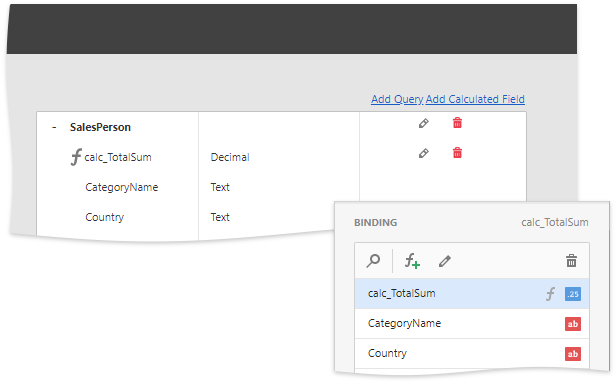
After creating the expression, click Save to creates a new calculated field and display it in the Field List. This type of a field is indicated with the f glyph.
Editing a Calculated Field
You can configure calculated fields both in the Data Sources page and from the Binding panel:
- To edit the created field using the Data Sources page, click the calculated field's Edit button (the
 icon).
 - In the Binding section, select the calculated field you want to edit and click the Edit button (the
 icon).
This invokes the Edit Calculated Field dialog. You can change the calculated field's name, type or edit the current expression.
To delete the calculated field, use the calculated field's Delete button (the  /
/ ![]() icons).
icons).